
How Assessments Are Initiated
In this guide, you will learn how to:
- Register a patient
- Initiate an assessment
Who has access to these actions:
All user levels
To begin a patient's assessment, it must first be initiated in the Clinical Portal. The process may vary depending on your organisation’s portal configuration (i.e. with or without system integration).
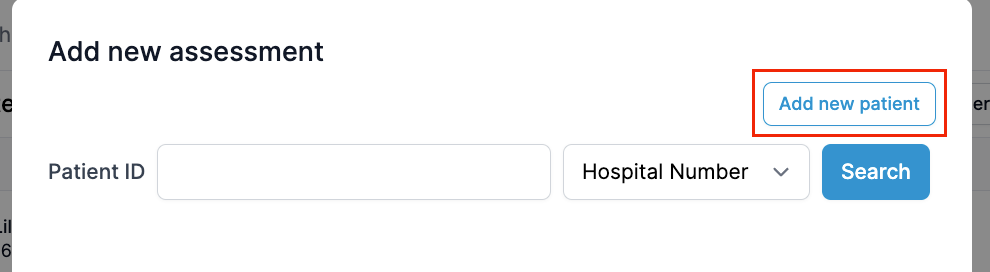
If your organisation does NOT have integration:
1. Click ‘New Assessment’ on the right-hand side of the screen.

2. In the pop-up window, search to check whether the patient is already registered in MyPreOp:
- Click on the search bar and type the patient’s name.
- If an existing assessment exists, it will appear in the list below.
3. If the patient is not yet registered, click ‘Add New Patient’ and manually enter their details.
Fields marked with an asterisk (*) are mandatory.
Once complete, click ‘Create New Patient’.
4. Review the patient’s information in the next window. If necessary, click ‘Edit’ to correct any errors.
5. Select an Assessment Template from the drop-down menu. This determines the appropriate assessment group and when the assessment is sent out.
- Optional fields such as Consultant, Procedure, Referral Priority, Priority, and TCI Date can be added later, once the patient has completed their questionnaire.
- To add a procedure, enter the code or name.
- Choose the patient’s preferred contact method, then click ‘Create Assessment’.
The patient will receive an SMS or email with a unique code to start their online pre-assessment.
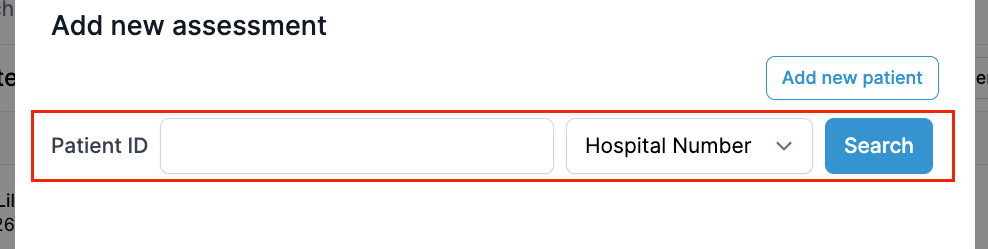
If your organisation DOES have integration:
- Type the patient's identifier (NHS, CHI, IHI, or hospital number) to retrieve demographics from your PAS.
- Select the correct patient from the results and follow step 5 above.
Please note:
Due to individual portal configurations, some screens or features may differ slightly in your live portal.